 Save
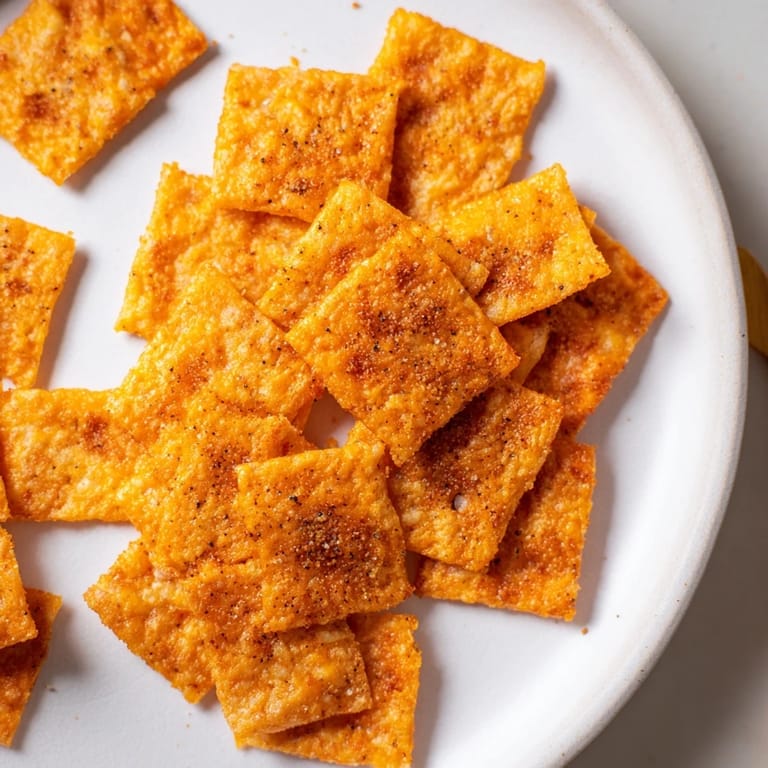
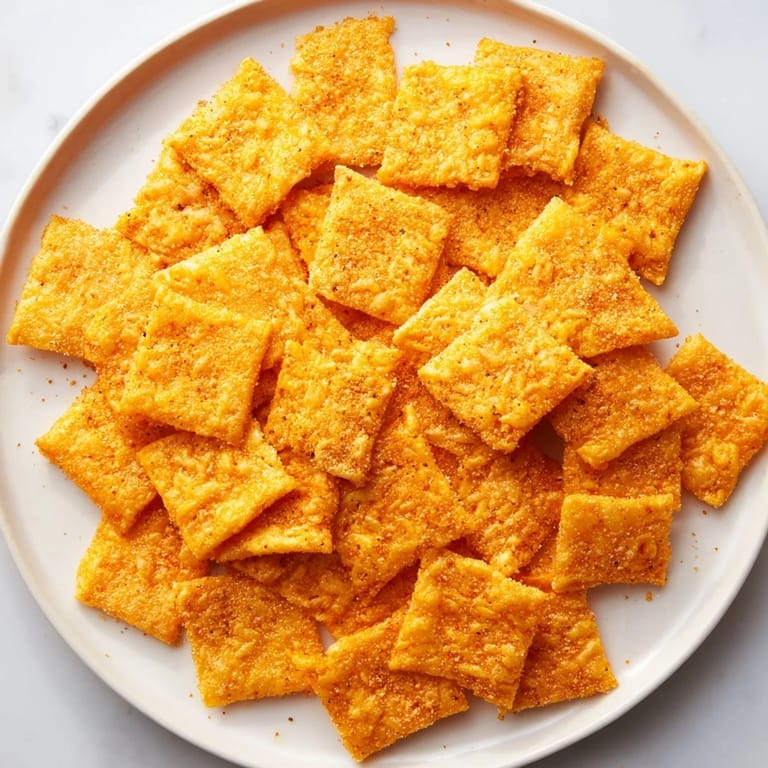
Save My sister brought a bag of Cheetos to game night, and halfway through a movie, I started thinking about how those bright orange puffs would taste baked into actual crackers with real cheese. That night turned into an experiment that became a tradition—these crispy, cheesy squares that taste like someone took the best parts of junk food and made them elegant. Now I make them whenever people are coming over, and they vanish faster than I can pull them from the oven.
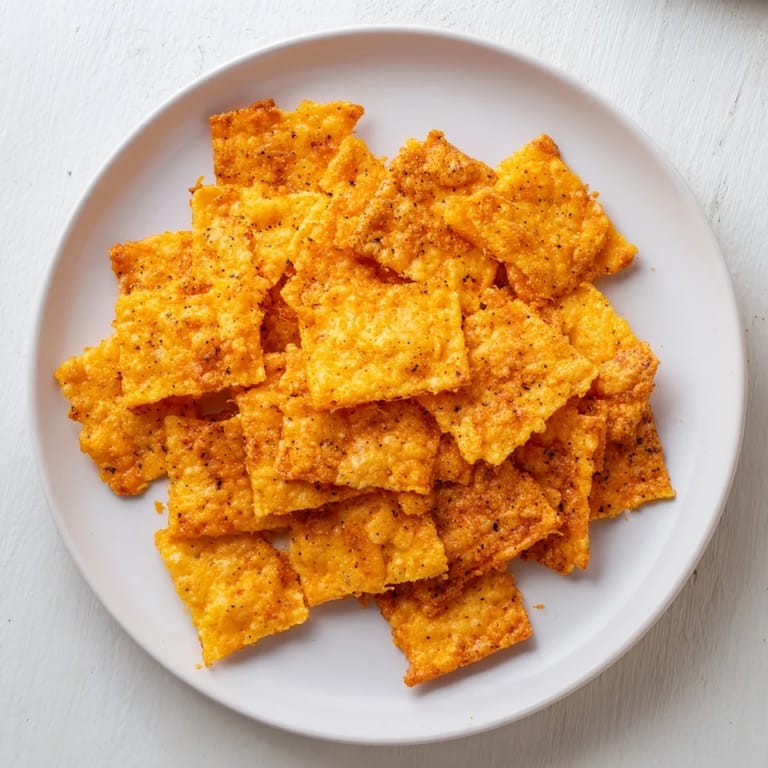
I made a batch of these for my nephew's birthday party, and he ate so many his fingers turned orange—but he didn't even care. His friends kept asking for the recipe, and their parents admitted they'd sneaked handfuls too. That's when I realized these weren't just a snack; they were the kind of thing that makes people pause and actually pay attention to what they're eating.
Ingredients
- Cheetos, finely crushed: The foundation of everything—aim for almost a powder so they blend smoothly and don't leave giant chunks that throw off your texture.
- Sharp cheddar cheese, finely grated: Don't use pre-shredded if you can help it; the fresh stuff melts together way better and tastes sharper.
- Unsalted butter: Softened is key so it mixes evenly without tearing up the other ingredients.
- Garlic powder and smoked paprika: These deepen the flavor beyond just cheesy—they add warmth and a hint of smoke that feels sophisticated.
- Cayenne pepper: A pinch optional, but it wakes everything up if you like a little heat lingering on your lips.
- All-purpose flour and baking powder: These create just enough structure so the crackers crisp up instead of staying soft.
- Cold water: Add it slowly; you're looking for a dough that barely holds together, almost like wet sand.
Tired of Takeout? 🥡
Get 10 meals you can make faster than delivery arrives. Seriously.
One email. No spam. Unsubscribe anytime.
Instructions
- Mix your cheese base:
- In a bowl, combine the crushed Cheetos, grated cheddar, softened butter, garlic powder, smoked paprika, and cayenne if you're using it. Mix it all together with your fingers or a wooden spoon until everything is evenly coated and starts to feel like a loose paste.
- Combine your dry ingredients:
- In another bowl, whisk the flour and baking powder together. This breaks up any lumps in the baking powder so your crackers rise evenly.
- Bring it together:
- Pour the flour mixture into the cheese mixture and stir until you have a coarse dough—think of it like breadcrumbs clumping together. Add the cold water one tablespoon at a time, mixing gently until the dough just barely holds together when you squeeze it.
- Roll and cut:
- Place the dough between two sheets of parchment paper and roll it out to 1/4-inch thickness. The parchment keeps everything from sticking and makes cleanup effortless. Cut into 1-inch squares or use a small cookie cutter for shapes, then transfer them to your prepared baking sheet with a little space between each one.
- Bake until golden:
- Slide them into a 350°F oven for 13 to 15 minutes, watching them go from pale to golden around the edges. They'll still feel slightly soft when hot, but they crisp up completely as they cool on a wire rack.
 Save
Save There's something magical about watching someone bite into one of these and pause for just a second, clearly surprised that a homemade snack could taste this bold and satisfying. It's the moment when food stops being just fuel and becomes something worth remembering.
Flavor Swaps Worth Trying
The beauty of this recipe is that it invites you to play. I've made them with spicy Cheetos when I wanted a kick, and swapped in pepper jack cheese for a different kind of bite that felt less cheesy and more alive. Once I even mixed in a teaspoon of ranch seasoning powder and they disappeared even faster—which tells you something about how forgiving and adaptable this dough really is.
Texture and Timing
The difference between crackers that are just baked and crackers that are truly crispy comes down to cooling. I learned this the hard way when I tried to serve them warm and they were chewy instead of crunchy. Now I always give them at least 10 minutes on the rack, and if you want them extra shattery, bake them for an extra 2 minutes until the edges are darker golden.
Storing and Serving Ideas
These keep for up to 5 days in an airtight container, though honestly they rarely last that long in my house. They're perfect crumbled over soups, paired with dips, or just eaten straight from the jar while you're doing something else. If they ever do go soft—which happens if humidity gets to them—you can revive them by spreading them on a baking sheet and warming them in a 300°F oven for 5 minutes.
- Pack them in a lunchbox for an unexpected snack that tastes homemade and tastes thoughtful.
- Double the batch if you're having people over, because these disappear like they're magic.
- Make them a day ahead if you want to save yourself stress on party day.
 Save
Save These crackers are proof that sometimes the best things come from combining something unexpected with something classic and just seeing what happens. They've become my go-to gift from the kitchen, the snack I'm known for, and honestly, my favorite thing to munch on while I'm working on something else entirely.
Kitchen Guide
- → How do I achieve the perfect crispiness?
Baking the crackers until golden brown and crisp is key. For extra crunch, bake an additional 2 minutes and allow them to cool completely on a wire rack before serving.
- → Can I substitute the sharp cheddar?
Pepper jack or another firm cheese can be used to vary the flavor while maintaining the cracker’s texture.
- → What is the role of cold water in the dough?
Cold water helps bring the flour and cheese mixture together without creating a sticky dough, ensuring a firm yet rollable texture.
- → Can I customize the spice level?
Yes, adding cayenne pepper is optional and adjusting smoked paprika can increase or decrease the smoky heat to your preference.
- → How should I store these crackers?
Store in an airtight container to maintain freshness and crispness for up to 5 days.