 Save
Save There's a particular kind of magic that happens when warm scones emerge from the oven on a spring afternoon—that exact moment when steam rises and the kitchen fills with buttery, vanilla-touched warmth. My neighbor once brought me a batch still hot from her Aga, and I realized that day that scones weren't fussy or intimidating at all, just honest butter and flour doing what they do best. What changed everything was understanding that the cold butter is your friend, not your enemy, and that gentle hands matter more than technique. These scones became my answer to every spring gathering, every quiet Tuesday teatime, and every time I wanted to feel a little bit English without leaving my kitchen.
I made these for my daughter's school fundraiser once, arriving an hour before doors opened with three trays still warm in their containers. The other bakers had elaborate cakes and decorated cupcakes, and there I was with golden rounds and a jar of homemade raspberry jam. By noon, I'd sold out while the fancy cakes still sat in rows. She was embarrassed at first, then understood that sometimes simple and warm beats complicated and pretty.
Ingredients
- All-purpose flour (2 cups): The foundation—don't sift unless your flour is particularly compacted, as it can toughen the crumb.
- Granulated sugar (1/4 cup): Just enough sweetness to complement the jam without making these feel like cake; this keeps them in proper scone territory.
- Baking powder (1 tablespoon): Your leavening agent—check the expiration date because stale baking powder is the silent killer of fluffy scones.
- Fine sea salt (1/2 teaspoon): Enhances everything without announcing itself; fine salt distributes more evenly than coarse.
- Unsalted butter (1/2 cup), cold and cubed: The soul of the scone—this is where you cannot compromise, and it must be straight from the fridge.
- Whole milk (2/3 cup plus extra for brushing): Creates tenderness and that light golden top when brushed on before baking.
- Egg (1 large): Helps bind the dough and creates richness in the crumb.
- Pure vanilla extract (1 teaspoon): A whisper of warmth that rounds out the flavor without shouting.
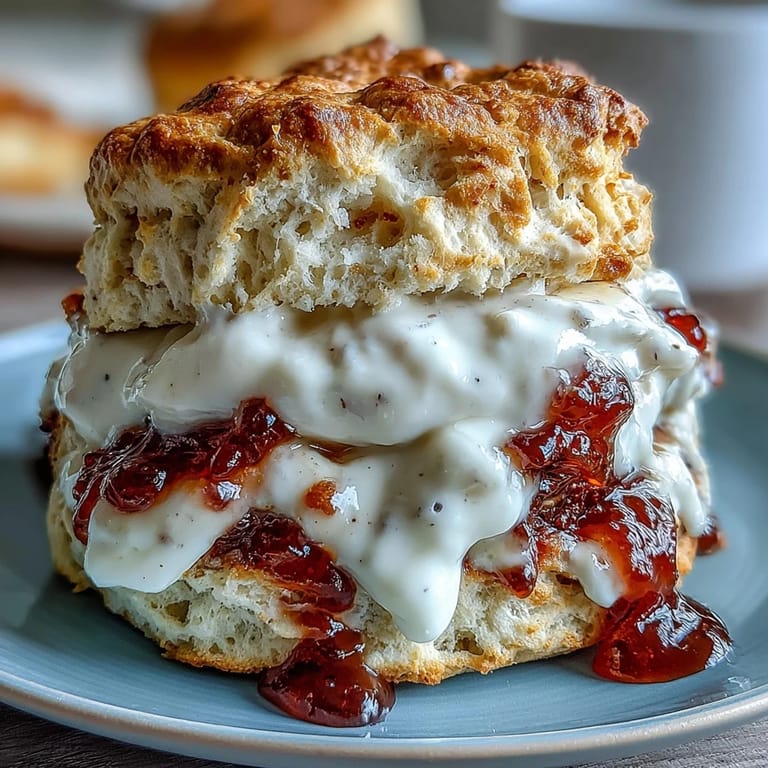
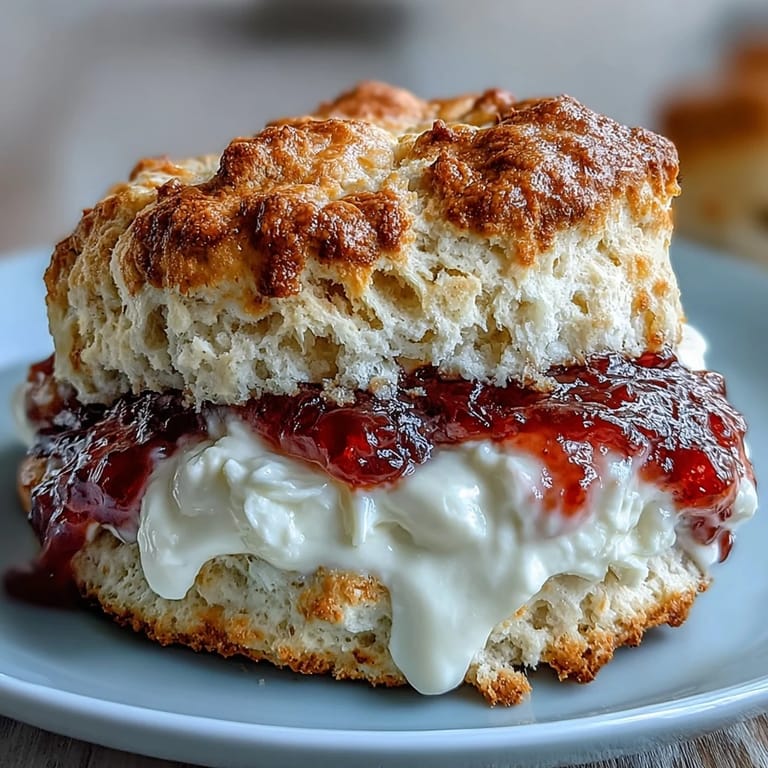
- Clotted cream (1 cup): The luxurious partner—thick, rich, and unapologetically indulgent when dolloped onto a split scone.
- Quality fruit jam (1 cup): Choose something you'd actually eat by the spoonful, because it's half the experience here.
Tired of Takeout? 🥡
Get 10 meals you can make faster than delivery arrives. Seriously.
One email. No spam. Unsubscribe anytime.
Instructions
- Set the oven and prepare:
- Heat your oven to 425°F (220°C) and line a baking sheet with parchment paper—this prevents sticking and gives you even browning underneath. Room-temperature surprises ruin scones, so get everything ready first.
- Mix the dry ingredients:
- Whisk together flour, sugar, baking powder, and salt in a large bowl, making sure the baking powder distributes evenly so you don't end up with bitter pockets. This aerates everything slightly and sets you up for success.
- Cut in the butter:
- Add your cold, cubed butter and work it in using a pastry cutter or your fingertips until the mixture looks like breadcrumbs with some pea-sized bits still visible. The cold butter creates steam pockets during baking, which is what gives scones their lift and flakiness.
- Combine the wet ingredients:
- In a separate bowl, whisk milk, egg, and vanilla until blended, taking just a few seconds to bring them together. This mixture needs to be ready to pour as soon as you've prepped the dry ingredients.
- Bring it together gently:
- Pour the wet mixture into the dry ingredients and stir with a fork—and I cannot stress this enough—until just combined and still slightly shaggy. Overworking develops gluten and creates dense, tough scones that are nobody's friend.
- Shape the dough:
- Turn the dough onto a lightly floured surface and pat it into a 1-inch-thick round, handling it as little as possible and letting your hands be light. It should feel like you're persuading the dough into shape, not forcing it.
- Cut out the scones:
- Using a 2.5-inch round cutter, press straight down without twisting (twisting seals the edges and prevents rise), and place each scone on your prepared baking sheet about 2 inches apart. Gather scraps gently, pat them back into shape, and cut again until all dough is used.
- Brush and bake:
- Brush the tops lightly with milk for that gorgeous golden finish, then bake for 12 to 15 minutes until risen and light golden-brown. They should look almost too delicate to eat, but they're sturdier than they appear.
- Cool and serve:
- Transfer to a wire rack for a few minutes of cooling—they'll continue cooking slightly from residual heat. Serve them warm, split in half, with a generous dollop of clotted cream and a spoonful of jam.
 Save
Save I understood the real value of these scones when my mother came to visit during a gray April week, and we sat together with warm tea, split scones, and conversation that needed no planning. That's when they stopped being a recipe in my kitchen and became a language for saying I'm glad you're here.
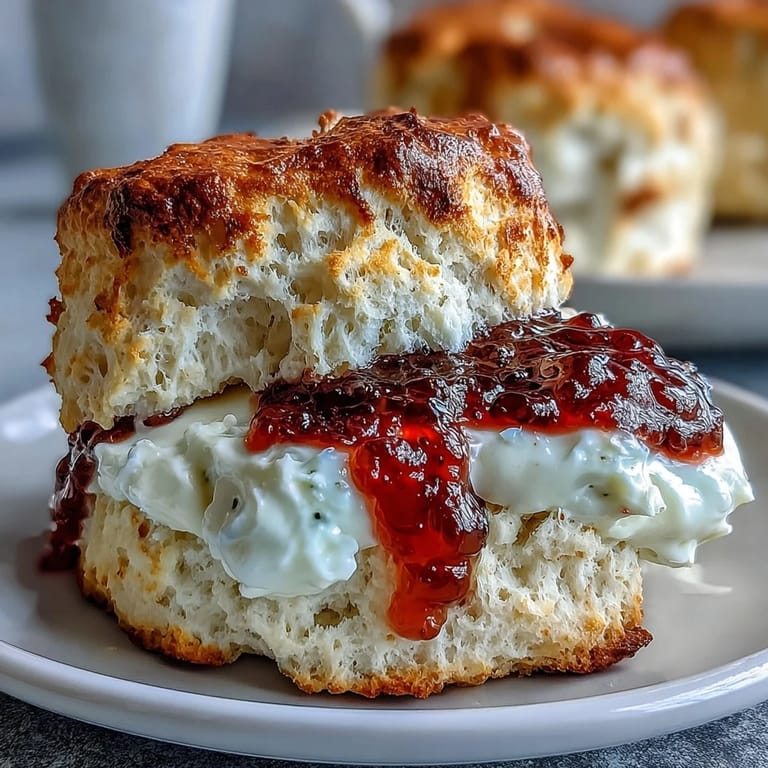
The Clotted Cream Question
There's an old British debate about whether jam or cream goes on first, and honestly, it matters less than people argue. The Devon way says cream first, then jam on top—this gives you a clean taste of both. The Cornwall way insists on jam first, then cream—which creates a lovely swirl when you bite into it. I've never met anyone who was truly upset by either order, only people who felt strongly about which tradition was correct. Make your scones, top them however your heart desires, and don't let anyone make you feel wrong about it.
Storage and Make-Ahead Magic
Freshly baked is undoubtedly best, but scones have a forgiving nature that rewards planning ahead. You can wrap cooled scones in foil and freeze them for up to three weeks, then reheat gently in a 350°F oven for five minutes until they warm through and regain some of their just-baked quality. I've done this countless times for unexpected visitors, and nobody has ever guessed they weren't made that morning.
Variations Worth Trying
Once you've mastered the basic formula, scones become a canvas for small adventures. The ingredients list suggests lemon curd or honey as jam alternatives, but you can also fold the zest of one lemon into the dry ingredients for brightness, or add a quarter teaspoon of cardamom for a subtle spiced warmth that feels sophisticated without being obvious. For extra richness, replace half the milk with heavy cream—your scones will be even more tender and luxurious, though they'll need watching carefully so they don't overbake.
- Try adding dried fruit like currants or chopped crystallized ginger to the dry ingredients for unexpected texture and flavor.
- A touch of rose water or almond extract can transform the vanilla note into something entirely different.
- Remember that any additions should complement jam and clotted cream, not compete with them.
 Save
Save These scones are proof that some of the best things in life require only butter, flour, and the willingness to do them gently. They're waiting for your afternoon tea, your unexpected guests, and those quiet moments when you want to feel a little bit loved.
Kitchen Guide
- → What makes these scones tender?
Using cold butter cut into the flour creates flaky layers that yield tender scones after baking.
- → Can I substitute the clotted cream?
Yes, thick whipped cream or mascarpone can be used for a similar rich texture.
- → How do you achieve a golden crust?
Brushing the scones with milk before baking helps form a delicate, golden exterior.
- → What jam flavors complement these scones?
Strawberry, raspberry, or lemon curd provide a balanced sweetness and fresh fruitiness alongside the scones.
- → How should leftovers be stored?
Cool completely, then store in an airtight container at room temperature for up to two days or freeze for longer.