 Save
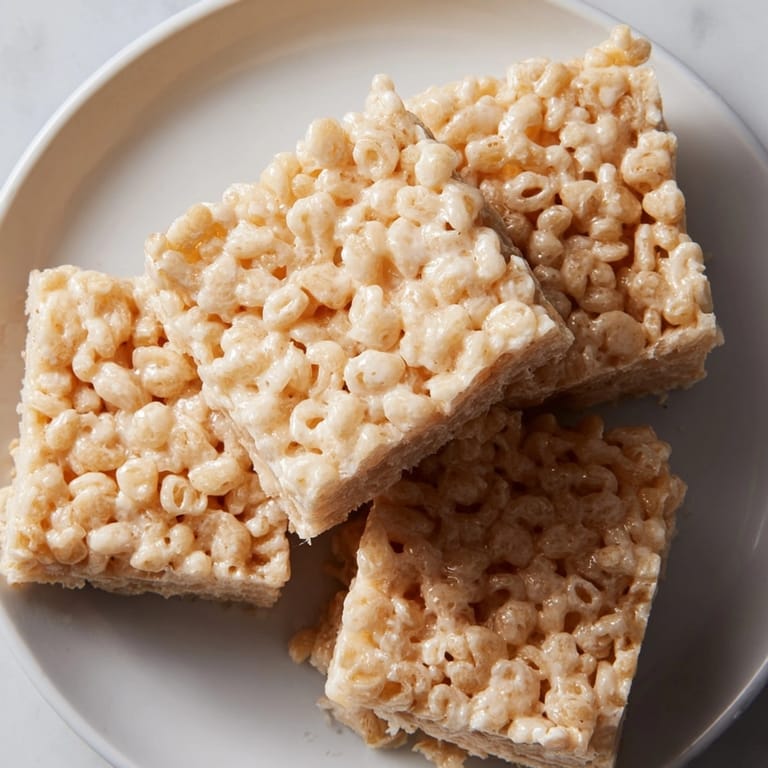
Save There is something about bringing a pan of homemade Rice Krispie Treats to the table that instantly sparks happiness Whether you are after a nostalgic snack or need a speedy party dessert these chewy marshmallow bars with crispy rice cereal deliver every time My family cannot resist sneaking squares before they are cool and these treats are a classic I reach for whenever I want something unfussy and crowd pleasing
I started making these as a college student when I needed the quickest dessert to share with friends Their simplicity and buttery marshmallow flavor still draw everyone back for seconds
Ingredients
- Crispy rice cereal: adds crunch and structure to the bars for the best results use a fresh crispy brand and check the box for gluten free certification if needed
- Mini marshmallows: melt quickly to create the gooey binding sweetness go for fresh soft marshmallows as stale ones will not melt as smoothly
- Unsalted butter: brings rich flavor and a soft texture choose a good quality butter for the tastiest bars
- Vanilla extract (optional): adds a hint of warmth make sure to pick pure vanilla for deeper flavor
- Salt (optional): boosts the buttery sweetness while balancing out the sugar a tiny pinch is all you need
Tired of Takeout? 🥡
Get 10 meals you can make faster than delivery arrives. Seriously.
One email. No spam. Unsubscribe anytime.
Instructions
- Prepare the Pan:
- Line a 9 by 13 inch baking pan with parchment paper or lightly grease it This keeps the treats from sticking and makes lifting easier
- Melt the Butter:
- Place butter in a large saucepan over low heat Let it melt slowly stirring often so it does not brown unless you want a nutty twist
- Melt the Marshmallows:
- Add mini marshmallows to the melted butter Keep the heat low and stir constantly until the mixture turns completely smooth and glossy watch so it does not burn
- Add Flavor:
- Once melted remove pan from heat Stir in vanilla extract and a pinch of salt if using for layered taste
- Mix in the Cereal:
- Pour all the crispy rice cereal into the pot Use a sturdy spoon or spatula to gently fold cereal into the warm marshmallow mix Go slowly to coat every piece evenly without crushing them
- Spread in the Pan:
- Scrape the gooey mixture into the prepared pan Lightly oil your spatula or use wax paper to press the mix evenly into the pan do not compact it too hard so treats stay soft
- Cool and Slice:
- Let the pan cool at room temperature for at least 30 minutes Once set lift out using the parchment and cut into squares for serving
 Save
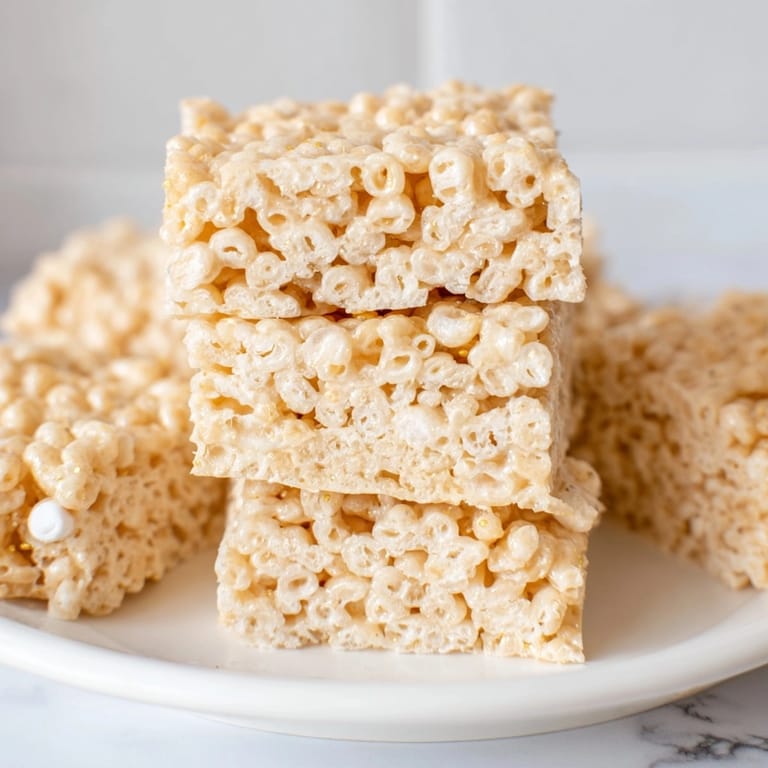
Save My favorite part of this recipe is the buttery marshmallow smell that fills the kitchen just before you press the batch into the pan My siblings and I would gather with sticky fingers licking bits from the spoon there was always a tug of war for the corner pieces
Storage Tips
Keep treats in an airtight container at room temperature to prevent them from drying out If the weather is humid use parchment paper between layers and try to eat within three days for the freshest texture For longer storage you can freeze cut squares in a zip top bag and thaw at room temperature when cravings hit
Ingredient Substitutions
Dairy free butter substitutes or coconut oil work if you are avoiding dairy but choose one with a mild flavor Large marshmallows can be used just chop them up for faster melting If you are vegan seek out gelatin free marshmallows and check that your cereal is also vegan friendly
Jazzing Up Your Treats
To make these more festive stir in colorful sprinkles or mini chocolate chips once the mixture cools a little Try topping with a drizzle of melted chocolate or peanut butter for extra flair I sometimes mix in a spoonful of rainbow nonpareils if I am making treats for birthdays
Cultural Roots of Rice Krispie Treats
These bars first appeared in the late 1930s as a creative use for everyday pantry items and were quick to become an American lunchbox staple Their enduring popularity is linked to school bake sales nostalgic flavors and the perfect chewy crunch
 Save
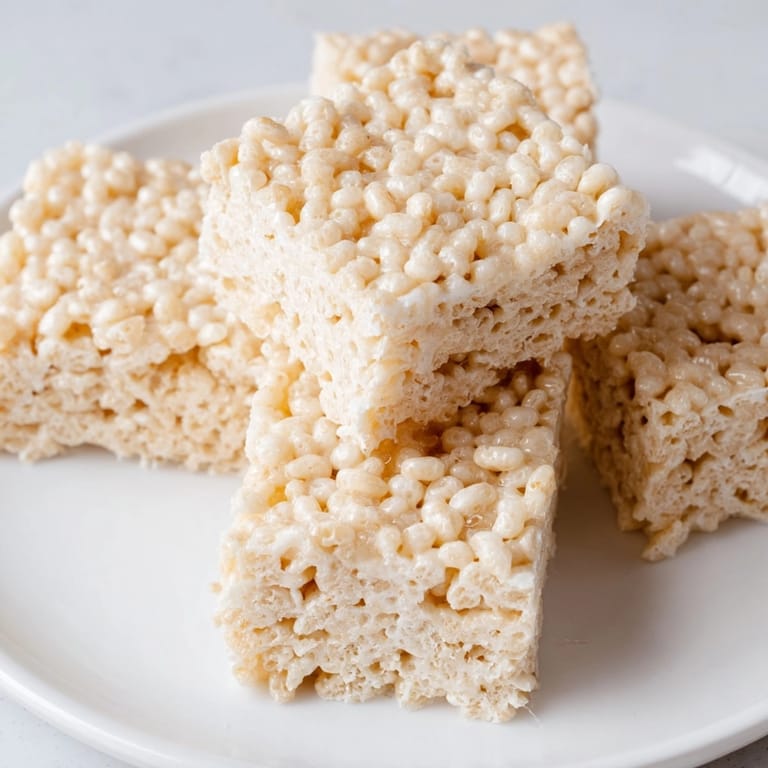
Save Share these chewy treats with friends or pack them for a nostalgic lunchbox surprise They always disappear fast and never fail to spark smiles
Kitchen Guide
- → What is the key to chewy texture?
Melting marshmallows gently over low heat and not pressing the mixture too firmly ensures a soft, chewy bite.
- → Can I add other mix-ins?
Yes, chocolate chips, rainbow sprinkles, or nuts can be stirred in for extra texture and flavor after cooling slightly.
- → How long should bars cool before slicing?
Let the mixture cool at room temperature for about 30 minutes to make clean, easy cuts into squares.
- → Are these bars gluten-free?
Check cereal packaging—some brands may contain gluten. Choose certified gluten-free cereal for dietary needs.
- → How should marshmallow bars be stored?
Store in an airtight container at room temperature for up to three days to maintain texture and freshness.
- → Can I brown the butter for more flavor?
Browning butter adds a rich, nutty flavor and complements the sweetness of the marshmallows and cereal.