 Save
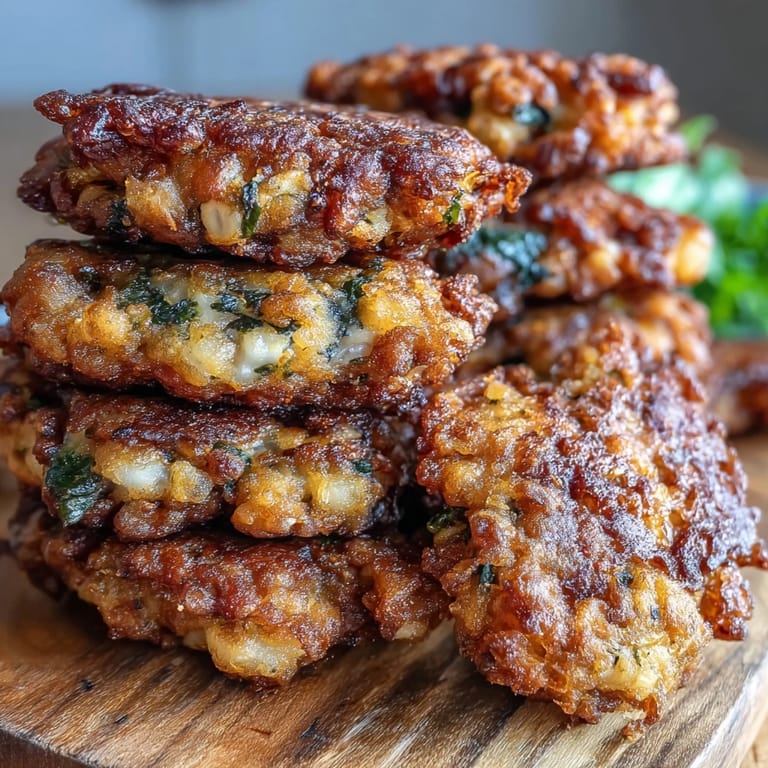
Save My neighbor brought a plate of these to a Sunday potluck, still warm and impossibly crispy, and I couldn't stop eating them straight from the container. She mentioned they were her grandmother's recipe, made every other week when black-eyed peas were on sale, and suddenly I understood why she always looked so proud serving them. I asked for the recipe that same afternoon, thinking it would be complicated, but she laughed and told me the whole thing took less than forty minutes from start to finish. That first batch I made turned golden and puffy in ways I didn't expect, and my kitchen smelled like comfort and spice for hours afterward.
I made these for my daughter's soccer team after a Saturday morning game, and watched them disappear within minutes while parents asked for the recipe over and over. There was something magical about feeding a crowd with something so simple, watching people relax with food that tasted both familiar and special. Those fritters became our thing after that, showing up at every tournament and celebration, always with someone asking if I remembered to bring extras.
Ingredients
- Black-eyed peas (2 cups cooked, drained): The soul of these fritters, providing earthiness and structure that keeps everything bound together without heaviness.
- Onion (1 small, finely chopped): A must-have for subtle sweetness and moisture that prevents the fritters from becoming dry or dense.
- Garlic (2 cloves, minced): Just enough to whisper in the background rather than shout, deepening the flavor without overwhelming the peas.
- Fresh parsley or cilantro (2 tablespoons, chopped): Optional but worth it for brightness, especially if your peas tasted a bit flat on their own.
- Eggs (2 large): The binding agent that holds everything together and gives the interior that slightly tender crumb.
- All-purpose flour (3/4 cup): Creates structure and helps achieve that golden, crispy exterior we're after.
- Salt (1 teaspoon): Don't skip this or reduce it, as it's essential for bringing out the natural sweetness of the peas.
- Black pepper (1/2 teaspoon ground): A grind of fresh pepper tastes sharper and more alive than pre-ground.
- Smoked paprika (1/2 teaspoon, optional): Adds a gentle smokiness that makes people wonder what your secret is.
- Cayenne pepper (1/4 teaspoon, optional): For those who like a slow, building heat that lingers pleasantly.
- Vegetable oil (for frying): Choose a high-heat oil like canola or peanut, and use enough so the fritters float halfway rather than stick to the bottom.
Tired of Takeout? 🥡
Get 10 meals you can make faster than delivery arrives. Seriously.
One email. No spam. Unsubscribe anytime.
Instructions
- Mash your peas with purpose:
- Pour the drained peas into a large bowl and use a fork or potato masher to break them down, but leave some chunks intact—you want texture, not a smooth paste. Some people mash aggressively and end up with baby food, which changes the whole character of the fritter, so take your time here.
- Build your batter with intention:
- Add the onion, garlic, herbs, eggs, flour, and all seasonings to the mashed peas and mix until everything is evenly distributed and you have a thick batter that holds together. The consistency should be thick enough to scoop but soft enough to flatten slightly once it hits the oil.
- Heat your oil until it whispers:
- Pour about 1/2 inch of vegetable oil into a large skillet and place it over medium heat, waiting until it shimmers and a tiny piece of batter dropped in immediately sizzles. This temperature dance is crucial—too cool and your fritters absorb oil instead of crisping; too hot and the outside burns before the inside cooks through.
- Fry with patience and space:
- Using a spoon or small cookie scoop, drop heaping tablespoons of batter into the hot oil, then gently flatten each one slightly with the back of your spoon, leaving enough room between fritters so they don't touch. Work in batches because overcrowding drops the oil temperature and turns your crispy dreams into greasy regrets.
- Watch for that perfect golden moment:
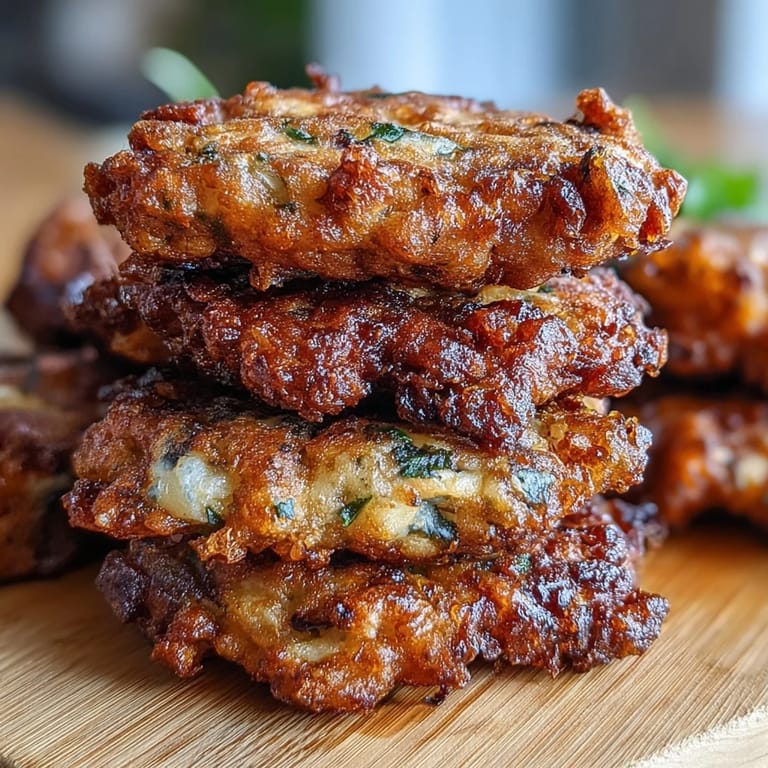
- Fry each side for 2 to 3 minutes, until the surface turns deep golden brown and the edges look almost caramelized, then carefully flip and repeat. You'll know they're done when tapping one with a spoon produces a hollow sound rather than a soft thud.
- Rest them like they deserve:
- Transfer each batch to a paper towel-lined plate as soon as they come out of the oil, letting the towels absorb the excess oil so they stay crispy even after cooling slightly. Serve while they're still warm, as they're honestly best within the first 20 minutes.
 Save
Save There was an afternoon when my teenager came home stressed about something, and instead of asking what was wrong, I just started making these fritters. By the time they finished frying, she was sitting at the kitchen counter, stealing one from the cooling plate and suddenly talking about what was bothering her. Food sometimes does more than fill your stomach—it creates the space for everything else.
Serving and Pairing Ideas
These fritters shine brightest when you give them a proper dipping sauce, and the possibilities are genuinely endless. I've watched people transform their experience entirely depending on what's in front of them, from a cool, tangy yogurt dip to something fiery with hot sauce, or even sweet mango chutney for those who like playing with contrast. The fritters themselves are fairly neutral in flavor, which means they're a blank canvas waiting for whatever condiment matches your mood that day.
Storage and Reheating
These keep beautifully in the refrigerator for up to three days if you store them in an airtight container, and reheating them in a 350-degree oven for about five minutes restores much of that original crispiness. I learned the hard way that microwaving them is possible but disappointing, as they steam rather than reheat, so give them the oven treatment whenever you can. They're also excellent cold the next day straight from the fridge if you need a quick, protein-packed snack.
Variations and Adaptations
Once you understand the basic structure of this recipe, you realize how flexible it actually is, and that's when the fun begins. I've added everything from chopped scallions to a pinch of cumin, swapped cilantro for dill, even thrown in a few sun-dried tomatoes on a whim, and every version tasted like a deliberate choice rather than an accident. The core technique stays the same—mash, mix, fry, serve—but the flavor story can shift completely depending on what you have on hand or what you're craving that particular day.
 Save
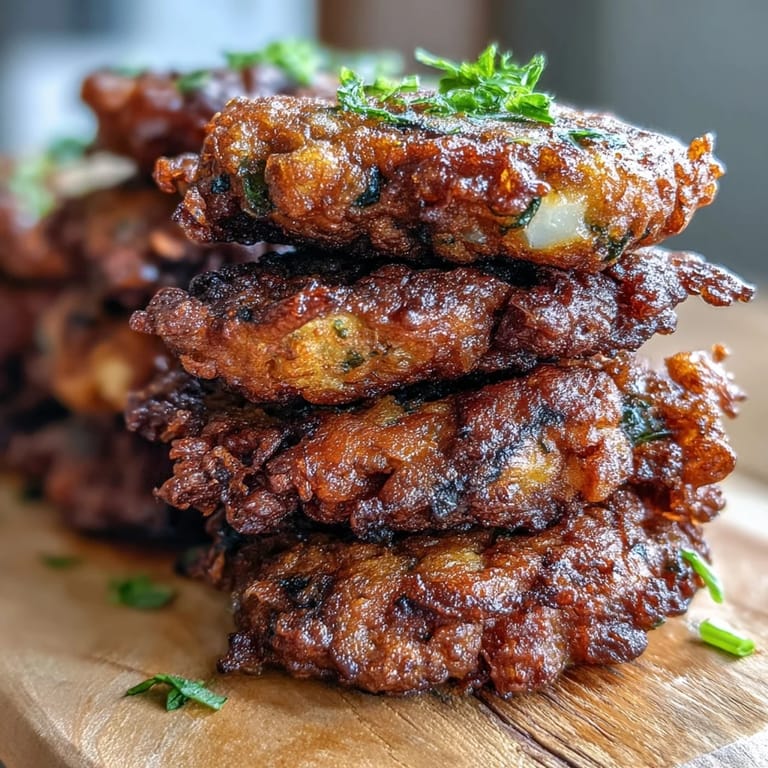
Save There's something deeply satisfying about pulling a batch of golden fritters from hot oil, knowing you've created something people will genuinely enjoy. These always find their way into rotation, whether it's a casual Thursday night or a celebration worth dressing up for.
Kitchen Guide
- → Can I use canned black-eyed peas?
Yes, canned black-eyed peas work perfectly. Just drain and rinse them thoroughly before mashing. You'll need about two 15-ounce cans to equal 2 cups of cooked peas.
- → What's the best oil for frying?
Vegetable, canola, or peanut oil all work well due to their neutral flavor and high smoke points. Heat the oil to about 350°F for best results.
- → How do I keep fritters warm while frying batches?
Place finished fritters on a baking sheet in a 200°F oven. This keeps them warm and crispy without continuing to cook them.
- → Can I make these gluten-free?
Absolutely. Substitute the all-purpose flour with chickpea flour or a gluten-free flour blend. The texture remains excellent and the flavor profile works beautifully.
- → What dipping sauces pair well?
Try cool yogurt dip with herbs, spicy hot sauce for heat, or sweet mango chutney for contrast. A simple aioli or remoulade also complements the crispy texture.
- → Can I freeze uncooked batter?
Yes, scoop the batter onto a parchment-lined baking sheet and freeze until firm. Transfer frozen portions to a bag and fry directly from frozen, adding 1-2 minutes to cooking time.