 Save
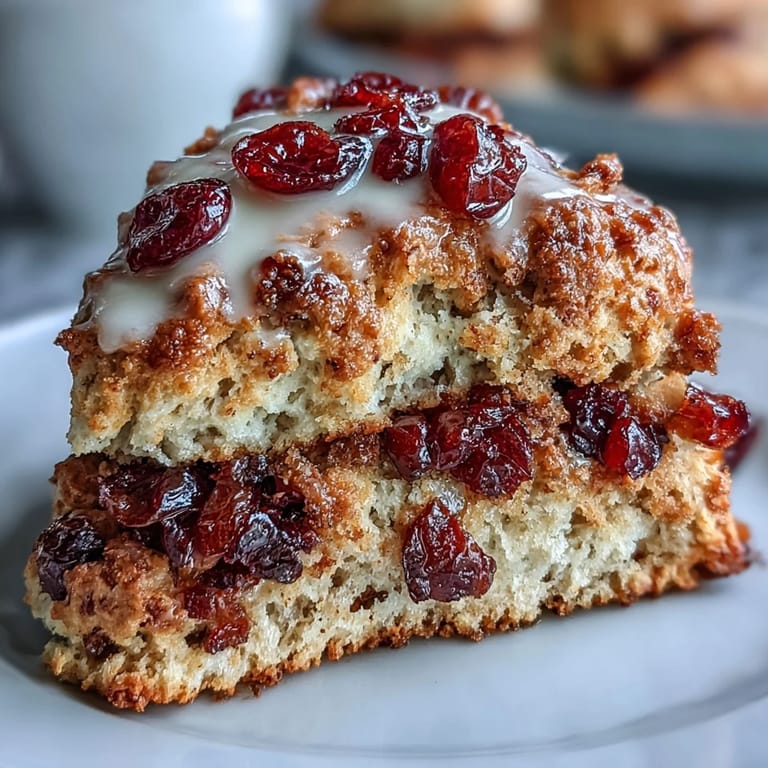
Save My kitchen smelled like a candied dream the afternoon I first stirred together orange peel and cranberries for scones. A friend had left a box of fancy candied citrus on my counter after a holiday party, and I kept staring at it, wondering what it wanted to become. These scones emerged from that moment of curiosity—buttery, tender, studded with jewel-like fruits that somehow taste both festive and comforting at once.
I made these for a Valentine's Day brunch last year when my neighbor mentioned she'd never had a proper scone. Watching her bite into one, eyes lighting up at the burst of candied orange and that buttery crumb, reminded me why I love baking—it's never really about the pastry. It's about creating a moment where someone feels thought about and cared for.
Ingredients
- All-purpose flour (2 cups / 250 g): This is your foundation, and measuring by weight ensures your scones won't turn out dense or dry—one of those small things that makes a real difference.
- Granulated sugar (1/4 cup / 50 g): Just enough sweetness to complement the fruit without making these taste like dessert masquerading as breakfast.
- Baking powder (1 tablespoon): Your leavening agent; check that it's fresh because old baking powder loses its lift, and nobody wants a flat scone.
- Fine sea salt (1/2 teaspoon): Enhances every flavor note and rounds out the sweetness beautifully.
- Dried cranberries (1/2 cup / 75 g): Look for ones without added sugar if you can find them; they'll contribute brightness rather than extra sweetness.
- Candied orange peel (1/3 cup / 60 g), finely chopped: The star ingredient here—chop it small so every bite gets little bursts of citrus flavor.
- Orange zest (from 1 orange): This adds a fresh note that candied peel alone can't quite deliver, so don't skip it even though it seems like a small thing.
- Cold unsalted butter (1/2 cup / 115 g), cut into cubes: Keep this truly cold; warm butter makes greasy scones instead of tender ones, so some people even chill their bowl first.
- Heavy cream (2/3 cup / 160 ml), plus extra for brushing: This replaces the buttermilk you'd find in traditional scones and creates an especially tender crumb.
- Large egg (1): Binds everything together and helps create that golden-brown top.
- Pure vanilla extract (1 teaspoon): A quiet supporting player that deepens the overall flavor without announcing itself.
- Powdered sugar (1/2 cup / 60 g), optional: For the glaze; whisk it smooth to avoid grittiness.
- Fresh orange juice (1–2 tablespoons), optional: This brings brightness to the glaze and ties the whole flavor story together.
Tired of Takeout? 🥡
Get 10 meals you can make faster than delivery arrives. Seriously.
One email. No spam. Unsubscribe anytime.
Instructions
- Set your stage:
- Preheat the oven to 400°F (200°C) and line a baking sheet with parchment paper. This only takes a moment but prevents sticking and ensures even browning.
- Build your dry base:
- Whisk together flour, sugar, baking powder, and salt in a large bowl. You'll feel the mixture lighten as you whisk, which means air is being incorporated—this helps create that tender crumb everyone loves.
- Cut in the butter:
- Add cold butter cubes and use a pastry cutter, fork, or your fingertips to rub it in until the mixture resembles coarse breadcrumbs. The tiny butter pieces create steam pockets when they melt in the oven, which gives scones their characteristic tender texture.
- Scatter in the jewels:
- Stir in cranberries, candied orange peel, and orange zest until evenly distributed. This is where your scones get their personality and visual appeal.
- Bring it together gently:
- Whisk cream, egg, and vanilla in a separate bowl, then pour over the dry ingredients. Mix until just combined—this is the moment to resist the urge to overwork it, as too much mixing develops gluten and toughens the scones.
- Shape your dough:
- Turn the dough onto a lightly floured surface and pat it into a 1-inch-thick disc. Cut into 8 wedges as if you're slicing a pie, which gives you those classic triangular scone shapes.
- Ready for the oven:
- Arrange wedges on the prepared baking sheet with a little space between each one, then brush the tops generously with extra cream. This cream creates that beautiful, slightly glossy golden top.
- Bake until golden:
- Bake for 16–18 minutes, watching until the tops turn a light, appetizing golden brown. The scones should feel slightly firm on top but still tender inside when you press gently.
- Cool with patience:
- Let them cool on a wire rack rather than eating them straight from the oven; this allows the crumb to set properly and prevents them from falling apart.
- Finish with a drizzle (optional):
- Whisk powdered sugar and fresh orange juice until smooth, then drizzle over completely cooled scones. This adds elegance and one final burst of citrus flavor.
 Save
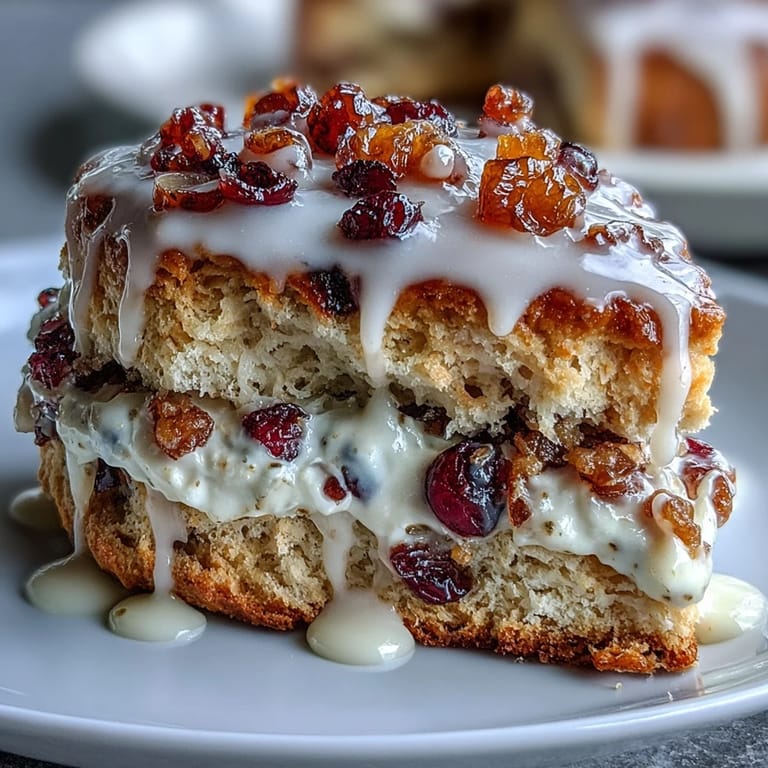
Save There's something almost magical about scones the moment they emerge from the oven, when steam is still rising and the kitchen smells like toasted butter and citrus. My daughter once asked if we could have these every single morning, and I realized then that sometimes the simplest foods carry the most affection.
Storage and Reheating
These scones are best enjoyed the day they're made, when the butter is still singing and the crumb is at its most tender. If you have leftovers, wrap them loosely in a clean kitchen towel and store them in an airtight container at room temperature for up to two days, or freeze them for up to three weeks in a freezer bag. When you're ready to revive them, warm them gently in a 300°F oven for about five minutes—just long enough to wake up the flavors without drying them out.
Why This Flavor Combination Works
Cranberries and orange are a natural pairing that appear together in winter cooking for good reason: the tartness of cranberry cuts through richness, while candied orange peel adds sweetness and a floral complexity. Together with buttery scones, they create a flavor profile that feels simultaneously indulgent and refreshing—not too heavy for breakfast, but interesting enough that it never feels boring. The orange zest brightens everything, making sure the citrus flavor feels fresh rather than cloying.
Variations and Customizations
These scones are forgiving enough to accept substitutions without losing their charm. If candied orange peel isn't available, try candied lemon peel for a sharper note, or stick with the cranberries and add lemon zest for brightness. You could swap dried cherries or golden raisins for cranberries if you're after a softer flavor, or even add a pinch of ground cinnamon for warmth. For extra indulgence that honestly elevates them to special-occasion territory, dip the cooled scone tops into melted white chocolate—it catches the light beautifully and adds a silky sweetness that complements the tart fruit.
- Substitute dried cherries or golden raisins for cranberries to create a different flavor profile while keeping the same tender structure.
- For a spiced version, add 1/4 teaspoon ground cardamom or cinnamon to the dry ingredients for subtle warm notes.
- Dip cooled scone tops in melted white chocolate for an extra-special finish that makes them feel like a gift to yourself.
 Save
Save Baking these scones becomes a small ritual I look forward to, especially when someone I love is coming over. There's something deeply satisfying about pulling golden, fragrant scones from the oven and knowing you've created something that tastes as good as it smells.
Kitchen Guide
- → What makes these scones tender and flaky?
Using cold unsalted butter cut into the dry ingredients and mixing the dough gently helps create tender, flaky layers in the scones.
- → Can I substitute the cranberries with other dried fruits?
Yes, dried cherries or golden raisins work well as alternatives, offering similar texture and sweetness.
- → How do I achieve the bright citrus flavor in the scones?
The addition of finely chopped candied orange peel and fresh orange zest infuses a vibrant citrus aroma and sweetness.
- → What is the purpose of the glaze in this dish?
The optional glaze, made from powdered sugar and fresh orange juice, adds a glossy finish and an extra layer of citrus sweetness.
- → Are these scones suitable for freezing?
Yes, these scones freeze well and can be quickly reheated before serving to maintain freshness.