 Save
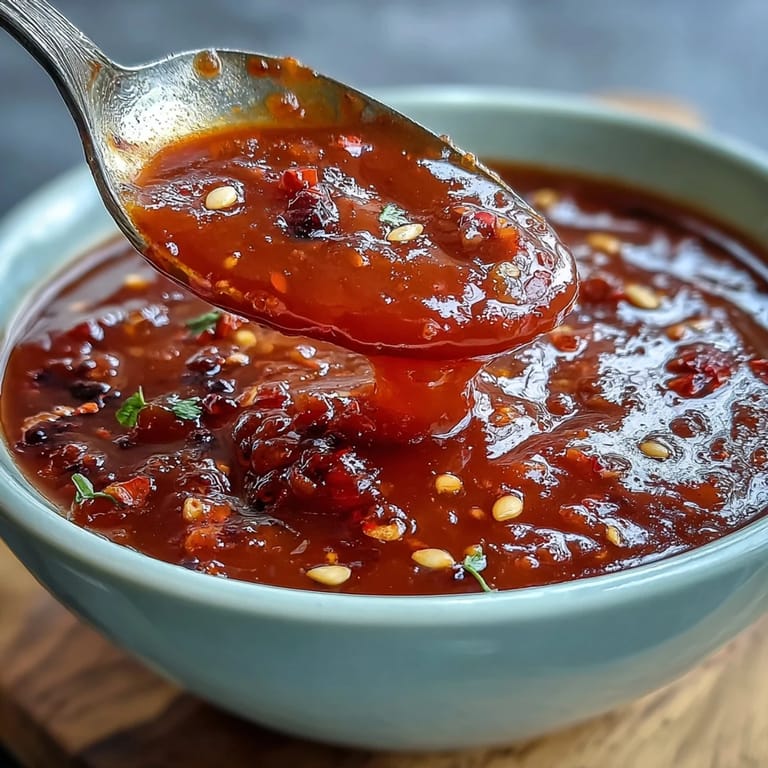
Save There&aposs a certain thrill in the kitchen when you spot a mound of fiery red chilies at the market, daring you to turn them into something special. On a rainy Sunday, with nothing but time and curiosity, I decided to try my hand at fermenting my own hot sauce after a friend brought over a bottle from a local artisan and the flavors absolutely floored me. The process sounded slightly intimidating, but the idea of transforming simple peppers into a complex, tangy condiment was too tempting to resist. Let&aposs just say, my windows stayed open for days as that distinct, bold aroma started swirling around the apartment. Instead of buying hot sauce ever since, I find myself counting down the days until the next batch is ready.
The first time I made this hot sauce for a potluck, I watched my friends edge cautiously closer to the little bottle, then go back for thirds, drizzling it over everything from roasted veggies to rice bowls. Their delighted surprise at the flavor complexity was the best kind of reward that made the week-long wait worthwhile. Later in the evening, someone tucked the bottle into their bag with a sheepish grin— proof that I needed to make a double batch next time.
Ingredients
- Fresh red chili peppers: The heart and fire of the sauce— use Fresno, jalapeño, serrano, or a blend for nuance, and always take a moment to admire their vibrancy before chopping; gloves can be your friend here.
- Red bell pepper: Adds a gentle sweetness and extra volume, balancing out the heat while keeping things colorful.
- Garlic: Four cloves mean you&aposll get a mellow aromatic backbone; crush them just before adding to keep the punch alive.
- Shallot or onion: Choose one for a mild savoriness— shallot gives subtlety, half an onion gives more body, and both bring depth to the ferment.
- Carrot (optional): If you want a touch of natural sweetness and a thicker texture, commit to adding a carrot; just peel and slice it up.
- Filtered water: Use this— it keeps the fermentation pure and free from chlorine or impurities that can affect flavor.
- Non-iodized salt: This keeps friendly bacteria happy; remember that table salt with additives won&apost do the trick.
- Apple cider vinegar or white vinegar: Two tablespoons at the end liven up the whole blend— you can swap for rice vinegar if a gentler tang is preferred.
Tired of Takeout? 🥡
Get 10 meals you can make faster than delivery arrives. Seriously.
One email. No spam. Unsubscribe anytime.
Instructions
- Make the brine:
- Stir the salt into the filtered water until fully dissolved, feeling the tiny grains disappear between your fingers.
- Chop your vegetables:
- Slice up the chili peppers, bell pepper, carrot, garlic, and shallot or onion— the kitchen will start to hum with sharp, sweet aromas as you go.
- Pack the jar:
- Layer all the veggies and aromatics into a super-clean 1-liter glass jar, arranging brightly colored layers for a tiny private celebration.
- Add the brine and weigh down:
- Pour the salty water over the vegetables until completely submerged, then press everything beneath the surface with a fermentation weight or a bag of extra brine.
- Cover for fermentation:
- Secure the jar with a loose-fitting lid or fermentation airlock so bubbles can escape— you might already hear the faintest sizzle by day two.
- Ferment and monitor:
- Leave the jar in a cool, dark spot for seven days, checking every day to keep veggies submerged and removing any scum— you&aposll notice funky scents and lively fizzing as it matures.
- Blend with vinegar:
- After a week, pour the ferment with all its brine into a blender, add your vinegar, and blend until silky and vivid— taste and adjust with brine or more vinegar for your texture.
- Sieve or leave rustic:
- Strain the blend through a fine-mesh sieve for a smooth sauce, or keep some pulp for a chunkier, bolder feel.
- Bottle and store:
- Pour into a sterilized bottle or jar and stash in the fridge, where it will stay lively and continue evolving in flavor for up to three months.
 Save
Save 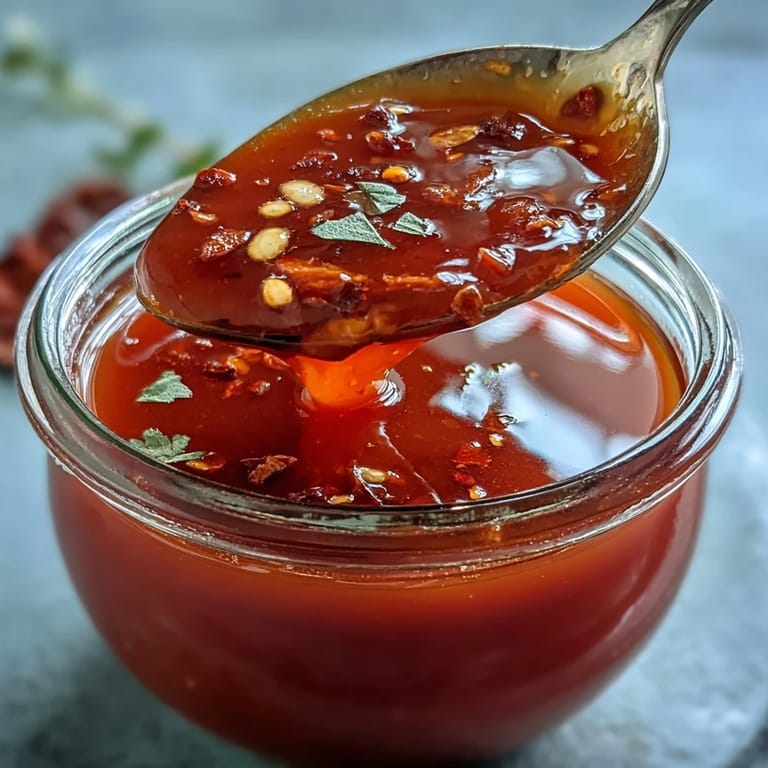 Save
Save There&aposs a morning I vividly recall— making eggs, still half asleep, and reaching for my own hot sauce instead of the store-bought bottle. The first taste jolted me fully awake, the flavors sharper and warmer than anything from the shelf; somehow, my day felt instantly brighter.
Tweaking Spice and Tang for Your Perfect Batch
Everyone has a different heat threshold, so don&apost hesitate to blend in a few habanero or Thai chilies if you&aposre seeking a knockout sauce, or more bell pepper and carrot for something everyone can handle. After several rounds, I started tasting the ferment after five days, just to fine-tune the funk and tang, deciding whether to stop there or go the full week. Sometimes a touch more vinegar at the end made all the difference for a batch— don&apost be afraid to experiment.
Fermentation Fears: Setting Up for Success
The first time you try fermenting, there&aposs a tiny panic when you see mysterious bubbles or a bit of white film on top— that&aposs often harmless, but always remember to skim off anything unusual and give the jar a sniff. Your nose is the best guide; if it smells clean and pleasantly sour, your hot sauce is on the right track. I once spilled brine everywhere trying to weigh the veggies down, so now I just fill a zip-top bag with extra brine and place it right on top— problem solved.
Creative Ways to Use Your Homemade Hot Sauce
As soon as your first bottle is ready, resist the urge to just sample by the spoonful (though I won&apost stop you). This sauce quickly found its way onto avocado toast, stirred into mayo for sandwich spreads, and even splashed into a Bloody Mary. The best surprise? Mixing a little with olive oil makes a perfect marinade base.
- If you're bottling for gifts, label them with fermentation date so friends know they're getting fresh heat.
- Always shake the bottle— separation is normal and keeps flavors even.
- Don&apost toss leftover pulp: mix it into scrambled eggs or salsas for extra oomph.
 Save
Save 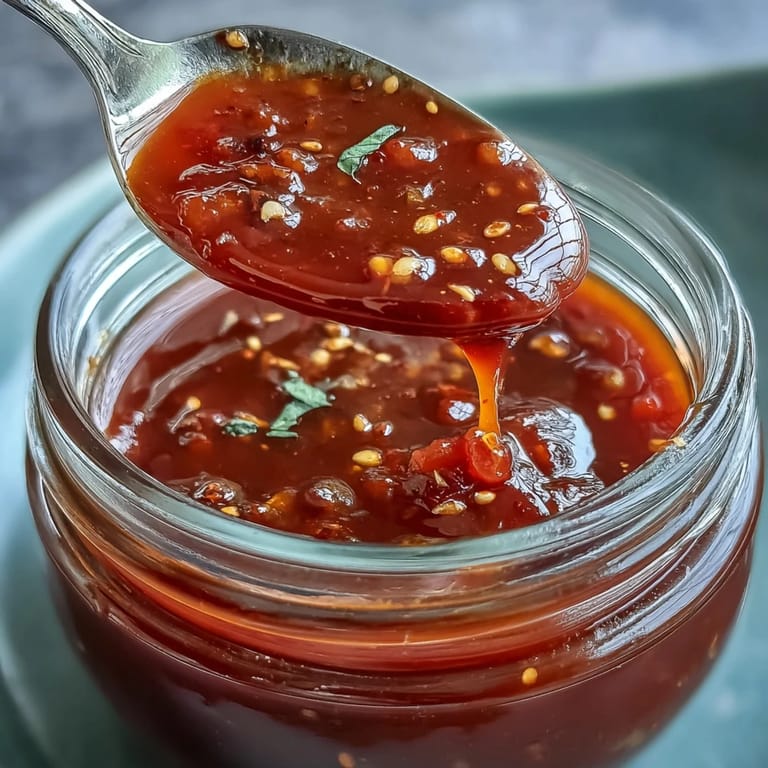 Save
Save Homemade fermented hot sauce brings more than just heat to your dishes— it packs a story in every drop. I hope it finds as many uses and little moments of pride in your kitchen as it did in mine.
Kitchen Guide
- → What salt concentration should I use for safe lacto-fermentation?
Use a brine around 2.5–3% by weight (about 15 g salt per 500 ml water). That level encourages beneficial lactic bacteria while inhibiting unwanted microbes. Use non-iodized sea salt or kosher salt.
- → Which peppers give the best balance of heat and flavor?
A mix of Fresno, jalapeño and serrano offers bright heat and fruitiness; add a red bell pepper for sweetness and volume. For more heat, include habanero or Thai chilies sparingly.
- → How do I control the final heat level?
Adjust heat by seed removal, pepper choice, and dilution. Leaving seeds and membranes increases heat; blending in more brine or adding extra bell pepper or carrot will mellow the spiciness.
- → Why add vinegar after fermentation?
Vinegar brightens the flavor, stabilizes acidity, and helps balance the tang from fermentation. Add to taste after blending to reach the desired sharpness and shelf stability in the fridge.
- → Can I flavor the brine with spices?
Yes — peppercorns, coriander seeds, or mustard seeds add complexity during fermentation. Add them to the jar before sealing so their oils steep into the brine and vegetables.
- → How should I store the finished sauce?
Transfer to a sterilized bottle or jar and refrigerate. Flavors will continue to evolve; the sauce keeps well for about three months chilled. Always use a clean spoon to avoid contamination.