 Save
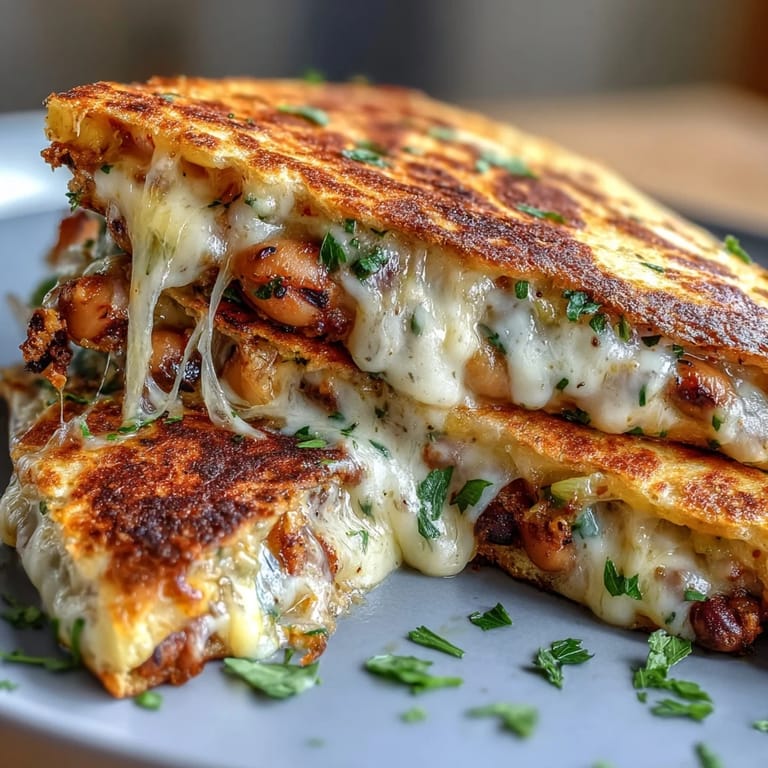
Save My neighbor Marcus handed me a container of black-eyed peas one afternoon, insisting I do something interesting with them beyond the traditional New Year's Day routine. I was skeptical until I threw them into a quesadilla with some cheese and realized I'd stumbled onto something genuinely delicious. The creamy mash paired with that crispy golden exterior became my go-to lunch when I wanted something quick but substantial.
I made these for my book club once, thinking they'd be a casual appetizer, and instead everyone wanted the recipe before they left. There's something about a perfectly melted cheese paired with seasoned peas that just works—it feels indulgent but honest.
Ingredients
- Black-eyed peas: Use canned and rinsed if you're short on time, or cook dried ones the day before—they should be tender but not mushy so they hold texture when mashed.
- Olive oil: Don't skip this for sautéing the aromatics; it builds the foundation of flavor.
- Onion and garlic: Dice them small so they distribute evenly through the filling and soften completely.
- Ground cumin and smoked paprika: These spices are what make this taste intentional rather than plain—don't measure light on them.
- Fresh lime juice: The acid brightens everything at the end, so squeeze it fresh rather than using bottled.
- Fresh cilantro: Optional but genuinely transformative if you love the herb—add it just before serving so it stays vibrant.
- Flour tortillas: Pick ones that are soft and pliable; cheap brittle ones will crack when you fold them.
- Shredded cheese: Cheddar or Monterey Jack both melt beautifully—avoid pre-shredded if possible since it contains anti-caking agents that prevent smooth melting.
- Butter or neutral oil: Use about half butter and half oil to get good browning without burning; pure butter tends to scorch at this temperature.
Tired of Takeout? 🥡
Get 10 meals you can make faster than delivery arrives. Seriously.
One email. No spam. Unsubscribe anytime.
Instructions
- Build your aromatics:
- Warm olive oil over medium heat and add diced onion, letting it soften for 3 to 4 minutes until the pieces turn translucent and smell sweet. Add minced garlic and cook just until fragrant, about 1 minute—this prevents it from burning.
- Season and warm the peas:
- Stir in your black-eyed peas with cumin, paprika, salt, and pepper, then cook for 2 to 3 minutes so the spices bloom into the peas. You'll notice the mixture start to smell warmer and more complex than when you began.
- Mash to texture:
- Remove from heat and use a potato masher or fork to crush the peas—the goal is creamy with some bits remaining, not baby food smooth. Stir in fresh lime juice and cilantro if using, tasting as you go.
- Assemble the quesadillas:
- Lay out 4 tortillas and divide the pea mixture over half of each one, spreading it evenly so every bite has filling. Sprinkle cheese generously over the filling, then fold the tortilla in half like you're closing a book.
- Pan fry until golden:
- Heat butter or oil in a large skillet over medium heat and place 1 or 2 quesadillas inside (crowding the pan makes them steam instead of crisp). Cook 2 to 3 minutes per side, watching for that golden-brown color and listening for the gentle sizzle—when the cheese starts oozing out the sides, you're close.
- Rest and serve:
- Transfer to a cutting board for a minute before slicing into wedges so the cheese sets slightly and doesn't run everywhere. Serve warm with salsa, sour cream, or guacamole on the side.
 Save
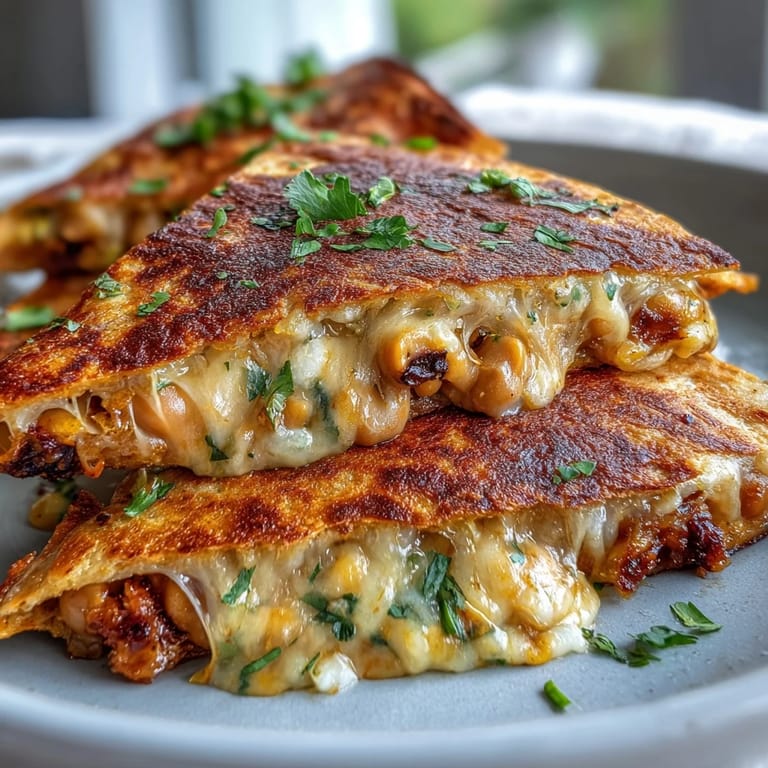
Save My daughter once asked why these tasted better than the fancy ones at restaurants, and the honest answer was control—I could season them exactly how we liked them. Now whenever she visits, she requests these before anything else.
Flavor Variations That Actually Work
The beauty of this recipe is how flexible it is without falling apart. I've added roasted red bell peppers, diced jalapeños for heat, and even a handful of corn kernels—each addition stays in the background while letting the black-eyed peas remain the star. Once you get comfortable with the base, you start seeing it as a canvas rather than a fixed formula.
Make Ahead and Storage
The pea filling actually tastes better on day two after the spices have had time to deepen, so I often make a double batch and keep it in the fridge for up to four days. You can also prepare the quesadillas completely and refrigerate them uncooked for a few hours, then pan-fry when you're ready—just add a minute or two to the cooking time since they'll be cold.
Customization for Different Diets
Making these work for different dietary needs is genuinely simple because black-eyed peas are naturally vegan, and swapping ingredients doesn't sacrifice anything important. Use dairy-free cheese and vegan butter for a plant-based version, or grab corn tortillas instead of flour ones if you're avoiding gluten—I've done both and never noticed a drop in quality.
- Corn tortillas need slightly less cooking time since they're thinner, so watch them carefully after the first minute.
- Vegan cheese melts better if you give it an extra 30 seconds in the pan and cover briefly with a lid to trap heat.
- If you go gluten-free, check that your butter and cheese are certified, since some brands surprise you with hidden gluten.
 Save
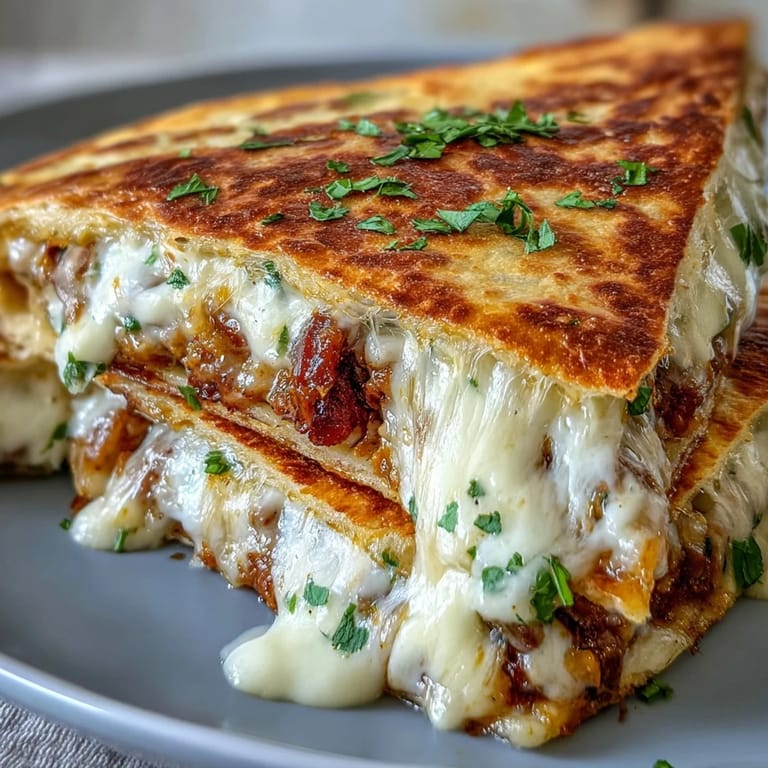
Save There's something deeply satisfying about turning inexpensive pantry staples into something that tastes intentional and cared for. These quesadillas have become my quiet proof that simple cooking often tastes better than complicated.
Kitchen Guide
- → Can I use dried black-eyed peas instead of canned?
Yes, soak and cook dried black-eyed peas according to package directions until tender, then drain well before mashing. You'll need about 1/2 cup dried peas to yield 1 1/2 cups cooked.
- → What cheese works best for these quesadillas?
Cheddar and Monterey Jack both melt beautifully and complement the earthy black-eyed peas. Pepper Jack adds a nice kick, or try a Mexican blend for varied flavor.
- → How do I store and reheat leftovers?
Refrigerate cooled quesadillas in an airtight container for up to 3 days. Reheat in a dry skillet over medium heat for 2-3 minutes per side, or in a 350°F oven until heated through and crispy.
- → Can I make these gluten-free?
Absolutely—use certified gluten-free tortillas and check that your cheese and other ingredients are gluten-free. The filling itself is naturally gluten-free.
- → What toppings pair well with these quesadillas?
Fresh salsa, sour cream, guacamole, or sliced avocado make excellent toppings. A sprinkle of extra cilantro or pickled jalapeños adds brightness and contrast.