 Save
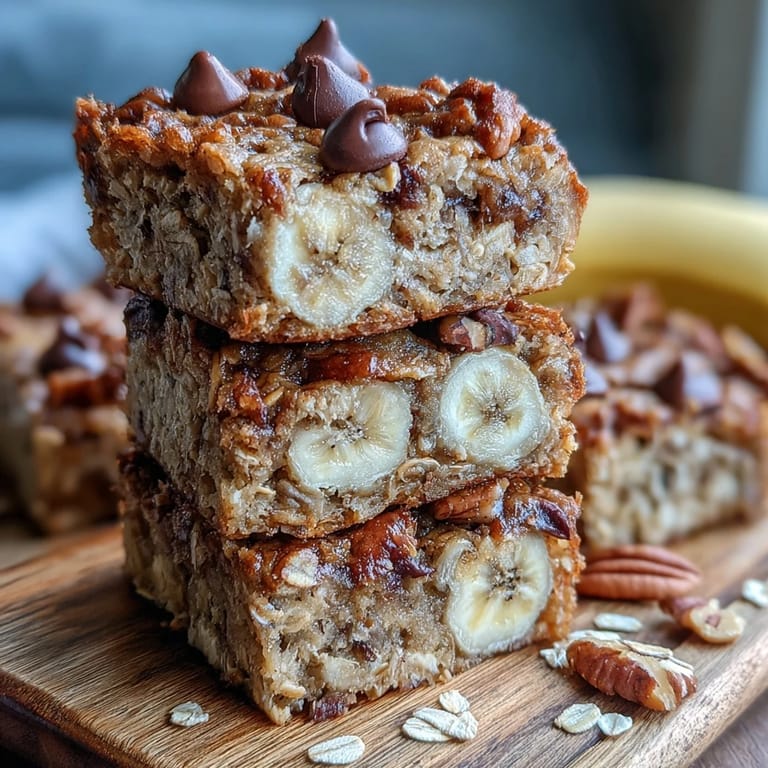
Save The rain was drumming against my kitchen window last Tuesday when I realized I had three spotted bananas sitting on the counter and zero motivation for a complicated baking project. I threw everything into one bowl, stirred it together with a wooden spoon, and twenty minutes later my apartment smelled like warm vanilla and comfort. These bars have become my go-to for those chaotic mornings when I need something wholesome but refuse to sacrifice flavor.
My sister stayed over last month and woke up to find these cooling on the counter. She ate two before asking if they were actually healthy or if I was tricking her, then proceeded to pack three for her flight home. Now she texts me every time she makes a batch, usually with some variation about what mix-ins she discovered in the back of her pantry.
Ingredients
- 2 cups rolled oats: Use old-fashioned oats here rather than quick oats for that satisfying chewy texture
- 1/2 tsp salt: This small amount wakes up all the flavors and balances the sweetness
- 1 1/3 cups mashed ripe banana: About 3 medium bananas with plenty of brown spots give the best natural sweetness and moisture
- 6 tbsp water: Helps create the perfect batter consistency without making the bars too dense
- 3 tbsp pure maple syrup, agave, or honey: Just enough to enhance the bananas sweetness without overpowering
- 3 tbsp oil, nut butter, or additional water: I love coconut oil for its subtle flavor but almond butter adds wonderful richness
- 1 tsp pure vanilla extract: Dont skip this, it makes everything taste like a treat
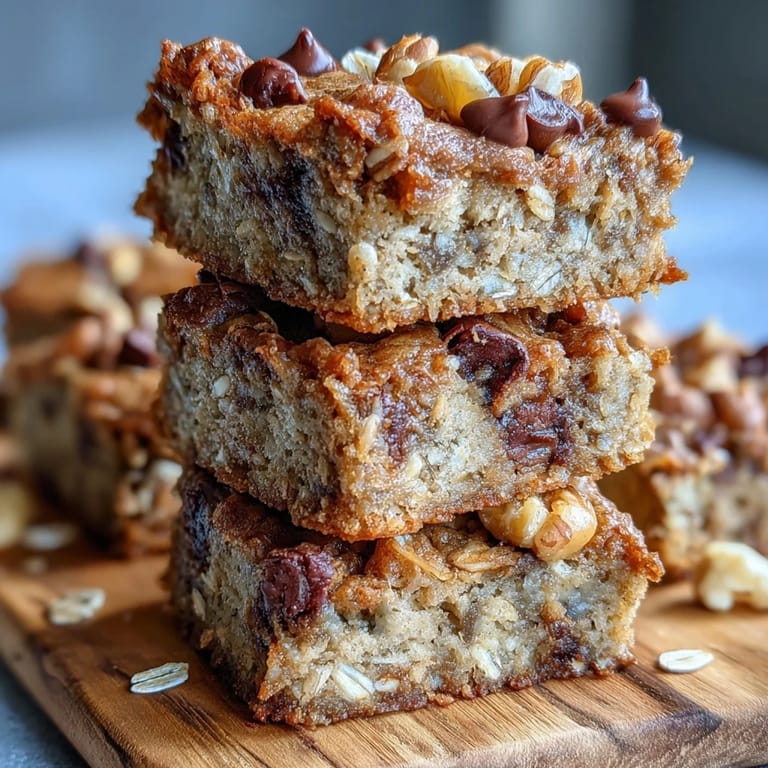
- 1/3 cup optional mix-ins: Chocolate chips, chopped walnuts, or dried cranberries all work beautifully here
Tired of Takeout? 🥡
Get 10 meals you can make faster than delivery arrives. Seriously.
One email. No spam. Unsubscribe anytime.
Instructions
- Preheat and prep your pan:
- Heat your oven to 350°F and line an 8-inch square baking pan with parchment paper, letting the paper hang over the edges for easy removal later.
- Mix your dry base:
- Combine the rolled oats and salt in a large mixing bowl, stirring to distribute the salt evenly.
- Add all wet ingredients:
- Pour in the mashed banana, water, sweetener, oil or nut butter, and vanilla extract. Stir until everything is well combined and the oats are evenly coated.
- Fold in your favorites:
- Gently mix in any optional add-ins like chocolate chips or nuts, being careful not to overmix.
- Spread and bake:
- Pour the mixture into your prepared pan and smooth the top with a spatula. Bake for 20 minutes.
- Let them set:
- Turn off the oven and leave the bars inside for 5 more minutes without opening the door. This step is crucial for the perfect texture.
- Cool completely:
- Remove from the oven and let cool completely before slicing into 6 to 9 bars.
 Save
Save Last autumn I brought a batch to a morning potluck and watched them disappear within ten minutes. Someone asked for the recipe, and when I explained how simple they were, nobody believed me. Sometimes the most humble recipes are the ones people remember most.
Making Them Your Own
I have discovered that swapping the banana for unsweetened applesauce creates a lighter, brighter bar thats perfect for spring. Pumpkin puree works beautifully in fall, giving the bars a gorgeous golden color and earthy sweetness. Do not be afraid to experiment with the liquid sweetener either. Molasses adds depth while agave keeps things neutral and lets your mix-ins shine.
Storage and Meal Prep
These bars keep in the refrigerator for up to four days, though they rarely last that long in my house. I wrap individual bars in parchment paper and freeze them in a freezer bag, then grab one the night before I want it. They thaw beautifully and taste just as good as fresh baked, maybe even better since the flavors have time to meld together.
Serving Ideas
Sometimes I crumble a bar over yogurt with fresh berries for a quick breakfast parfait. Other days I warm one for 20 seconds and spread a thin layer of peanut butter on top. My kids love them with a glass of cold milk, and I have been known to eat one standing at the counter with coffee at 6 AM.
- Try toasting a cooled bar under the broiler for 30 seconds to create crispy edges
- A dollop of Greek yogurt on top adds protein and makes it feel more decadent
- Pair with a cup of herbal tea in the evening for a surprisingly satisfying dessert
 Save
Save There is something deeply satisfying about a recipe that requires minimal effort but delivers maximum comfort. These bars have become my secret weapon for busy weeks and unexpected guests alike.
Kitchen Guide
- → Can I freeze these oatmeal bars?
Yes, these bars freeze exceptionally well. Store in an airtight container or freezer bag for up to 3 months. Thaw overnight in the refrigerator or enjoy straight from the freezer—they soften quickly at room temperature.
- → What can I substitute for the banana?
Unsweetened applesauce or pumpkin purée works beautifully as a 1:1 replacement. The texture remains similar, though flavor will vary slightly. Applesauce creates a milder taste while pumpkin adds earthy notes.
- → How do I know when the bars are done baking?
The bars are ready when the edges are lightly golden and the center feels set but still soft to the touch. The oven-resting step completes the cooking process, so don't worry if they seem slightly underbaked when you first turn off the oven.
- → Can I make these without added sweetener?
Absolutely. Ripe bananas provide natural sweetness, so you can omit the maple syrup entirely. For those preferring less sweetness, reduce the sweetener to 1-2 tablespoons or use stevia as directed.
- → Why rest the bars in the oven after baking?
The 5-minute resting period allows the bars to finish cooking gently and set properly without drying out. This technique ensures perfect texture—firm enough to slice cleanly while remaining soft and chewy inside.
- → Are these suitable for gluten-free diets?
Yes, when using certified gluten-free rolled oats. Standard oats may contain trace gluten from processing facilities, so look for oats specifically labeled gluten-free to ensure safety for those with celiac disease or gluten sensitivity.